
- Nov 18, 2025
🌧️ DIY Irrigation Installation ABCs: What You MUST Know Before You Start (Part 1)
- Yard Coach Matt
Most homeowners don’t realize this…
You can spend thousands hiring out an irrigation system — and half the time, the pro isn’t doing anything you can’t learn yourself over one good weekend.
If you’re ready to save money, avoid rookie mistakes, and actually understand how water behaves in your yard, stick around. If you’re impatient and can’t sit still for 30 minutes to learn something important… this probably isn’t for you.
This is Part 1 of the ABCs of DIY Irrigation Installation. If you want to watch the video, check it out right here: DIY Irrigation Installation ABCs: What You MUST Know Before You Start (Part 1) on YouTube
Next week we’ll hit Part 2.
💧 Step 1: Do You Even Need a Sprinkler System?
Here’s the truth — not every landscape needs a full irrigation setup. Where Maestro and I live here in northern Maine, less than 5% of yards have them. Too much rain. Too many trees. And honestly… folks here don’t have lawns big enough to justify it.
But many of you do need irrigation, especially:
In hot, dry, or windy climates (Southwest)
In new subdivisions with zero shade
On large lots
On yards with brand-new sod
On DIY landscapes with plant beds that dry out fast
So before you dig anything, decide:
Is irrigation a requirement? Or just a luxury?
If it’s a requirement, keep reading.

🌿 Want the Fundamentals First?
If you’re new to landscaping and want the basics laid out simply, grab my Landscaping Simplified eBook.
It’ll save you HOURS of frustration out in the yard.
👉 https://www.youryardcoach.com/landscapingsimplifiedebook
🏡 Step 2: Measure Your Square Footage + Plan Your Coverage
I’ve preached this for years across every part of landscape planning — measure first.
Don’t eyeball it. Don’t guess.
For this example, we’ll use a hypothetical 1,000 sq ft lawn.

Your job:
Measure the area
Sketch it
Identify where your water source is
Determine where your valves will sit
Buy bundles of colored flags (each color = a different head type)
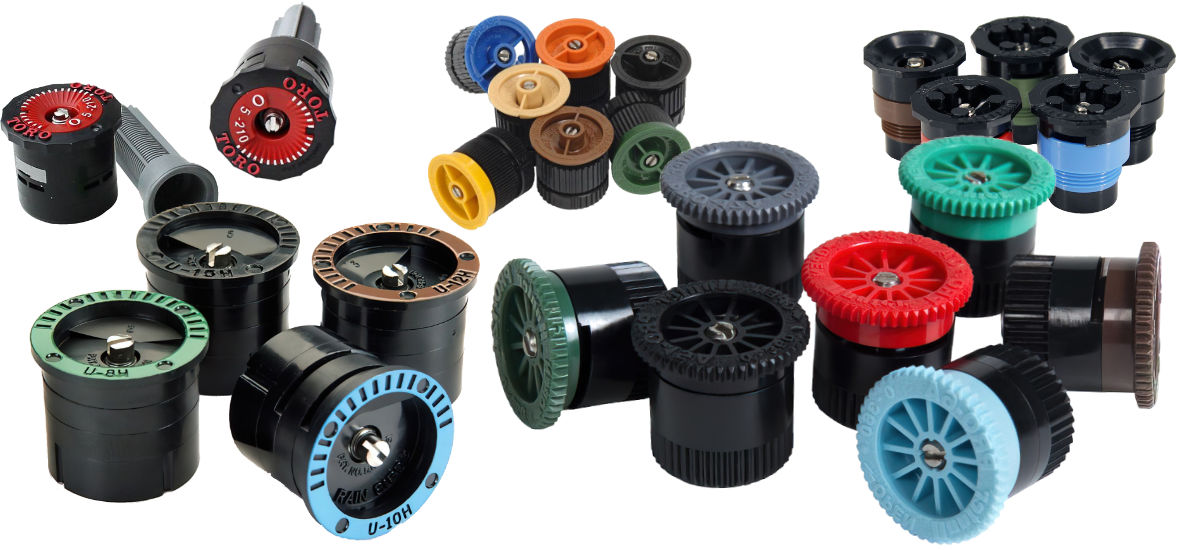
This is how you layout:
Spray heads
Rotor heads
Impact heads
Drip zones (in Part 2)
🔁 The Overlap Rule (Most DIWyers Get This WRONG)
Every nozzle has a printed number, like:
15H = 15 ft half circle
12Q = 12 ft quarter
15F = 15 ft full
Those numbers are suggestions, not law.
Real-world rule:
Subtract 3 feet from whatever the nozzle claims.
15 ft nozzle → treat it as 12
-
12 ft nozzle → treat it as 9
Why?
Because the edge of a spray pattern is weak, misty, and inconsistent — especially in windy climates. Your overlap is what creates even, healthy turf. This is one of the biggest mistakes new DIYers make.
🧰 Step 3: Build Your Parts & Pieces List
Once your lawn is flagged, you can estimate:
Number of heads
Type of heads
Number of tees, elbows, risers, swing joints
Pipe length
Valve count
Fittings & connections
Pro tip:
Buy more than you think you need. Every irrigation installer in the world has made emergency runs for two more elbows or one more swing arm. Buy extra → return what you don’t use. Trust me. BONUS: My favorite parts come from Rainbird (not sponsored)
🚿 Step 4: Understanding Your Water Supply (Pressure + GPM)
This is the part nobody wants to learn — but it is the entire backbone of whether your system will work or fail. You need two numbers:
PSI at the faucet (pounds per square inch)
GPM (gallons per minute)
Typical ranges:
35 PSI (low)
50–60 PSI (ideal)
90 PSI (rare, high)
A standard ¾” house spigot usually gives you 9–10 GPM.
A 1” stub-out gives around 13 GPM.
More GPM = more heads per valve = fewer valves = less money.
If you’re on a well system:
Look at your pressure switch rating
65/45 is ideal
Larger yards may require 1½” or even 2” plumbing
For our 1,000 sq ft example? You’re fine with a ¾” or 1” setup.
🔥 Ready to Actually Learn How to Design Your Yard?
If you’re planning a full landscape project — start to finish — my digital course Homescape 2.0 walks you through EVERYTHING. It’s the closest thing to having me standing in your yard coaching you through the build. 👉 https://www.youryardcoach.com/diy-landscape-course
🔩 Step 5: Pipe Choices — PVC vs Poly
PVC
Comes in Schedule 40 or Class 200
More rigid
Common in warm climates
Glued with primer + cement
Not forgiving when the ground shifts
Polyethylene (Poly)
Comes in rolls
More flexible
Great for cold climates
-
Uses compression fittings (no glue spills!)
If you live in freeze country, Poly is your friend.
🔧 Step 6: Tools You’ll Need
Don’t overthink this. You need:
Trenching shovel
Round-nose shovel
A trencher (rent one — don’t be a hero with a pickaxe)
Knee pads or a garden pad
PVC cutters / poly cutters
Back support if you’ve got a touchy lower back
Valve box for protection
Flags and measuring wheel
If you can rent a mini-excavator with a trenching bucket, even better.
📉 Step 7: Friction Loss (The Hidden Pressure Killer)
Hydraulics 101:
Water loses pressure every time it:
Travels through pipe
Makes a turn
Splits at a tee
-
Goes up a slope
That loss is called friction loss. To counter it:
Start with 1” pipe
Reduce to ¾” mid-run
-
Reduce to ½” at the last couple heads
This keeps pressure somewhat consistent down the line. If you skip this step? Your last two heads will dribble like a bad drinking fountain.
🏁 Quick Recap
In Part 1 we covered:
Determining if you need irrigation
Measuring + planning
Overlap (your new religion)
Parts & pieces
PSI + GPM
Pipe types
Tools
Friction loss
Head types
Valve math
Next week (in Part 2), we’re diving into:
Drip vs spray
Zones
Efficiency
Water budgeting
Installation tips
Practical tricks pros use daily
👇 When DIY Isn’t Enough
Some yards are simple. Some yards fight you the entire way. If you:
Have a big property
Have slopes
Have tricky pressure
Are overwhelmed
Are designing a full landscape
Or want someone to double check your layout
Then skip the guesswork and let me help you: 1-on-1 Video Consultation 👉 https://www.youryardcoach.com/yard-coach-consultation or On-Site Landscape Consulting 👉 https://www.youryardcoach.com/on-site-landscaping-consulting
I can save you hours, mistakes, and money — fast.
🌿 Start With the eBook
If you’re serious about getting your landscape right the first time, start here: 👉 Landscaping Simplified eBook https://www.youryardcoach.com/landscapingsimplifiedebook
It lays the foundation for EVERY project you’ll ever do.
PS - Every yard has potential. Most homeowners just need a plan.
👉 Read Part 2: Irrigation Installation ABCs for Successful DIY Install (Drip, Beds & More)
Related Topics:
DIY Irrigation • Sprinkler System Installation • Lawn Irrigation Design • Irrigation PSI & GPM • PVC vs Poly Pipe • Friction Loss in Sprinklers • Sprinkler Head Overlap • Residential Irrigation Tips