- Dec 4, 2025
💧 DIY Irrigation ABCs: Part 2 – Drip Systems, Planter Beds & Smart Watering
- Yard Coach Matt
Hey guys, Coach here.
Last time in Part 1 of the DIY Irrigation ABCs, we talked about lawn irrigation — spray heads, rotor heads, overlap, PSI, GPM, pipe sizing, friction loss, and how to lay out a system that actually works from the first head to the last.
If you missed that one, you can catch it here:
👉 DIY Irrigation ABCs – Part 1 (Lawn Irrigation Basics)
This week, we’re getting out of the lawn and into the planter beds.
We’re talking about:
• Why old-school pop-up spray in beds is fading out
• Why drip irrigation has become the gold standard
• How to design and install a basic drip system
• Pressure, filtration, and parts you actually need
• Environmental factors that affect how often and how long you water
• Why a good timer is non-negotiable in 2024 and beyond
If you prefer to watch instead of read, here’s the video this blog comes from:
👉 IRRIGATION INSTALLATION ABCs for SUCCESSFUL DIY INSTALL | PART 2
Let’s get into it:
🌱 Pop-Up Spray in Planter Beds (Old Way vs Reality)
For decades, planter beds were irrigated the same way lawns were:
• 4” pop-up spray heads tucked into the bed
• Sometimes 6” or even 12” tall pop-ups to clear shrubs
• Or gray schedule 80 risers with shrub heads on top
On paper, it works. In the real world, once those shrubs and perennials grow in, those heads are often:
• Spraying straight into one big shrub
• Not reaching the plants behind it
• Wasting water to evaporation and overspray
• Coating foliage with hard-water residue
If you’ve got very low front plants and groundcovers, a well-designed spray system in a bed can still work. You flag it out just like a lawn:
• Heads at the front spraying back
• Heads at the back spraying forward
• Overlap between them so the entire bed gets even coverage
But in most modern landscapes, especially with mixed shrubs, perennials, and small trees, pop-up spray in beds is more water waste than it’s worth.
Add in hard water and you’ll see that crusty white/gray coating on leaves over time. That’s calcium and other minerals baked onto the foliage from repeated overhead spray.
It still exists. It still “works.”
But today, there’s a better way.
💧 Why Drip Irrigation Is the Gold Standard Now
For planter beds, foundation beds, trees, perennials, and color areas, drip irrigation has taken over — and for good reason.
What drip does right:
• Puts water at the root zone, not in the air
• Uses far less water than spray (you’re measuring in gallons per hour, not per minute)
• Reduces fungal disease (less wet foliage)
• Doesn’t care about wind nearly as much
• Plays nicely with water restrictions in many cities
In some areas, if you have no lawn and only drip, the water district will leave you alone. They know you’re not wasting water throwing it into the street.
If you’re installing or upgrading a system today, it’s almost a no-brainer: lawns → spray/rotors | beds/trees → drip

🧩 Drip System Basics: How It All Fits Together
Drip is designed differently than turf irrigation, even though it ties into the same system.
You’ll usually see two main pieces:
• A supply line – the main black polyethylene pipe (½” or ¾”)
• Emitter lines – ¼” tubing that comes off the supply line and goes to each plant
From the valve back at your assembly, you have two options:
1. Remote Transition (Professional Way)
You:
• Run PVC pipe from the valves out to the bed area
• Stub up at the bed in a valve box
• Install a pressure reducer + filter at that location
• Transition to polyethylene drip tubing from there
This keeps most of the PVC underground and protected, and keeps your drip parts close to the beds.
2. Direct From the Valve
You:
• Put the pressure reducer + filter right on the valve outlet
• Run polyethylene supply line all the way to the beds
This uses more poly and less PVC. It’s still fine for many residential DIY installs.
⚙️ Pressure & Filtration – The Two Big Differences
In spray systems, you want enough PSI to throw water 10–15 feet.
In drip systems, high pressure is the enemy. It will:
• Blow emitters off
• Split tubing
• Cause leaks and failures
So:
• Most drip systems run at 25–30 PSI
• You use a pressure reducer to get there
• You also use a filter to keep small debris from clogging emitters
Many modern devices combine pressure reduction and filtration into a single unit. That unit sits:
• Right after the anti-siphon valve, or
• Out in a remote valve box near the bed
From there, the water goes into your poly supply line and out to the plants.
🪴 Laying Out a Drip System in a Bed
Here’s a basic approach that works for most DIYers:
1. Run your supply line
• Use ½” or ¾” black polyethylene pipe
• Snake it through the bed in a way that lets you reach every plant
• Secure it with ground stakes so it lies flat and doesn’t move
You can:
• Leave it on the surface and cover with mulch or gravel
• Or shallow-trench it 1–2” deep for some protection
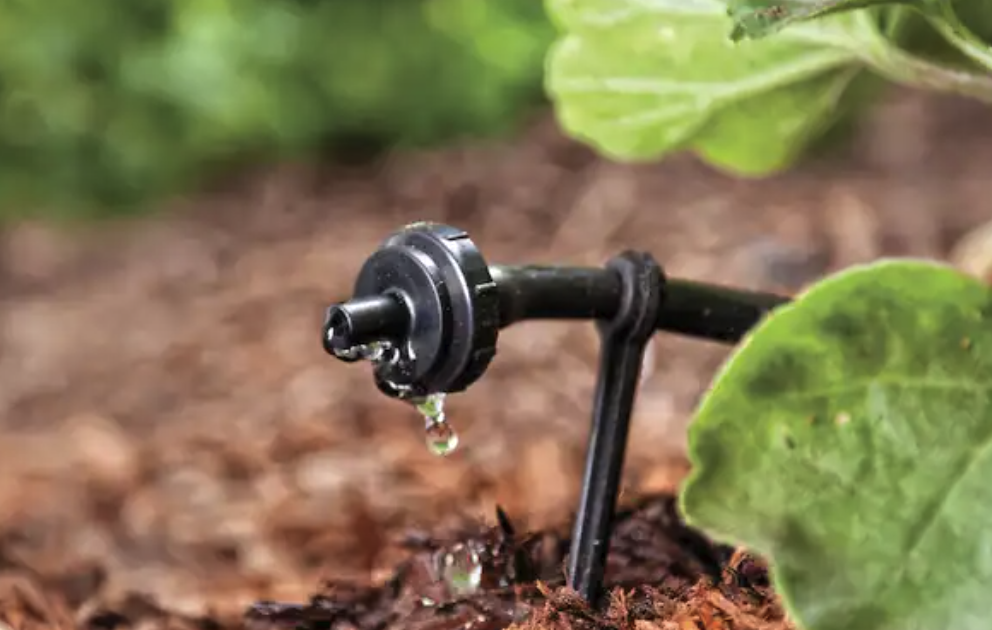
2. Add your emitter lines
• Use a hole punch to make holes in the supply line
• Insert barbed couplers
• Run ¼” emitter tubing or plain ¼” tubing from the supply to each plant
• Add the emitter at the end (1, 2, 3, or 4 GPH, depending on plant size and water needs)
3. Use emitter stakes
Instead of letting emitters flop around in the mulch, use emitter stakes to:
• Hold the emitter just above the soil/mulch
• Keep them from clogging
• Keep them where you actually want the water to go
4. Secure and clean it up
• Use U-shaped ground stakes to pin the supply line in place
• Cover exposed lines with mulch (but keep emitters visible/workable)
You end up with a system where every plant has its own water source at the base — no guessing, no overspray.
⚖️ Water Use: Why Drip Is a Game-Changer
With spray heads, you’re talking:
• Gallons per minute
• High precipitation rates
• Large coverage areas
With drip, you’re talking:
• Gallons per hour
• Slow, targeted delivery
On a normal backyard bed:
• One ½” supply line can carry more than enough water
• You won’t notice a big pressure drop from the first emitter to the last
• You’re looking at up to 90% water savings compared to spray in the same planter bed
If you’re in an area with high water costs or restrictions, this is where drip really shines.
🌍 Environmental Factors You Have to Consider
Even with a perfect install, your environment still calls some of the shots.
Climate
• Arid, hot areas → water less often but a bit deeper
• Humid, rainy areas → sometimes you barely need irrigation at all in certain seasons
Wind
• Wind destroys the efficiency of spray systems
• Drip doesn’t care much about wind, which is why it’s so powerful in exposed areas
If you’re somewhere with regular strong winds, your spray windows may be limited to early morning or middle of the night. Drip can run more flexibly.
Soil Type
• Sandy soil drains quickly → may need a bit longer run times
• Heavy clay holds water and sheds it quickly off the surface → better to water shorter and more frequently so it can soak in
Plant Choices
• Drought-tolerant lawns and plants can handle longer gaps between waterings
• Thirsty shrubs or shallow-rooted plants will need more consistent moisture
Sun vs Shade
• Full sun beds dry out faster
• Shaded areas or north-facing beds hold moisture longer
All of these influence how long and how often you run each zone.
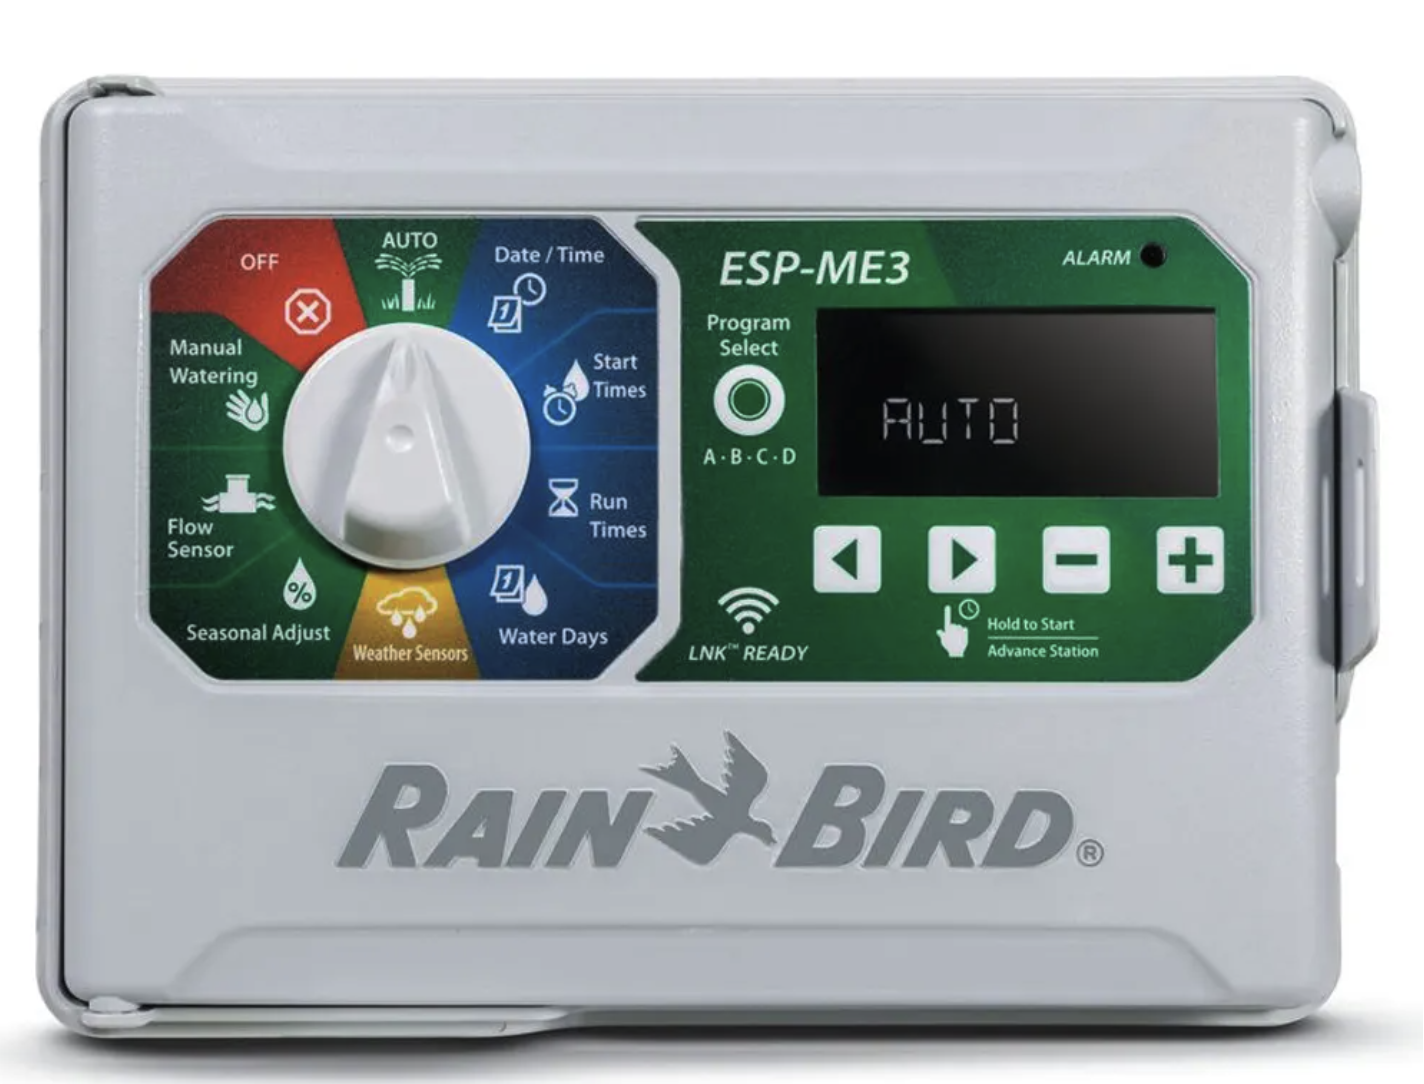
⏱ Timers: Why Manual Watering Is Outdated
In today's landscapes, there’s really no good reason to run a residential irrigation system manually.
A good automatic timer gives you:
• Control over start times (avoid conflicts with showers, dishwashers, etc.)
• Multiple programs – e.g.:
• Lawn: 3x per week
• Beds on drip: 1–2x per week
• Veggie garden: separate schedule
• Seasonal adjustments without digging into the yard
• Wi-Fi/Bluetooth control in many modern units
• Compatibility with rain sensors, so you’re not watering in a storm
For an investment of roughly a hundred bucks and some wire, you get:
• Better efficiency
• Lower water bills
• Less hassle
• Healthier plants
If you’re going to the effort of installing a DIY irrigation system, do yourself a favor and automate it.
🧾 Drip System Nomenclature (Quick Glossary)
Here’s a quick vocabulary check so you know what you’re looking at in the aisle or online:
• Supply line – Main black polyethylene pipe (½” or ¾”) feeding your bed
• Pressure reducer – Device that knocks the PSI down to drip-friendly levels (often 25 PSI)
• Filter – Keeps debris from clogging emitters; often combined with the pressure reducer
• Emitter – The small device that actually drips water out (measured in GPH)
• Emitter tubing – ¼” tubing that carries water from the supply line to the plant
• Emitter stakes – Little forked stakes that hold the emitter/tubing in place near the plant
• Ground stakes/U-pins – Metal pins that hold the supply line flat to the soil
Get familiar with these terms before you go shopping, and you’ll walk the aisle like you’ve done this before.
🏁 Wrapping Up – Where to Go From Here
Between Part 1 and Part 2 of the DIY Irrigation ABCs, you now know:
• How to lay out lawn irrigation
• Why overlap matters so much
• How to size pipe and think about pressure and friction loss
• How and where to use spray vs rotor heads
• Why drip irrigation is the most efficient way to water beds and trees
• How to design, assemble, and protect a basic drip system
• How climate, soil, plants, and sun exposure change your watering strategy
• Why a timer is one of the smartest tools you can install
If you take your time, plan it out, and buy the right parts, you can put in a professional-level system over a couple of weekends — without paying someone like me thousands to do it for you.
🌿 Want the Whole Landscape Plan, Not Just Irrigation?
Irrigation is just one piece of your yard.
If you’re looking to design or renovate your entire landscape — from layout and soil to plants, hardscape, lighting, and irrigation — my Homescape 2.0 digital course walks you through it step by step.
👉 Homescape 2.0 – DIY Landscape Course
📘 New to Landscaping? Start with the Fundamentals
If all of this still feels a bit overwhelming and you want the basics laid out simply, start with the Landscaping Simplified eBook.
👉 Landscaping Simplified eBook
It’s designed to save you frustration, wasted money, and years of trial and error in your yard.
⸻
🧠 Need a Coach in Your Corner?
If you’ve got a tricky property, big project, or you just want a second set of professional eyes on your plan:
👉 On-Site Landscape Consulting
I can help you avoid the big mistakes before they’re buried under concrete and pipe.
As always, to your landscape success — and your irrigation success.
Coach Matt
👉 Missed Part 1? Start here: DIY Irrigation ABCs Part 1
PS — Smart irrigation isn’t about fancy parts. It’s about knowing where the water needs to go and giving every plant exactly what it needs. DIYers can absolutely master this.
Related Topics:
Drip Irrigation Setup • Watering Planter Beds • Drip vs Spray Irrigation • Pressure Reducers & Filters • Emitter Types & Placement • Poly Tubing Installation • Smart Irrigation Timers • Landscape Water Efficiency • Irrigation for Shrubs & Perennials • Residential Irrigation Design Tips